Search This Blog

DC23 Clothing

DC23 Clothing
Find Us At Facebook
Showing posts with label scratch built. Show all posts

Thursday, May 7, 2015

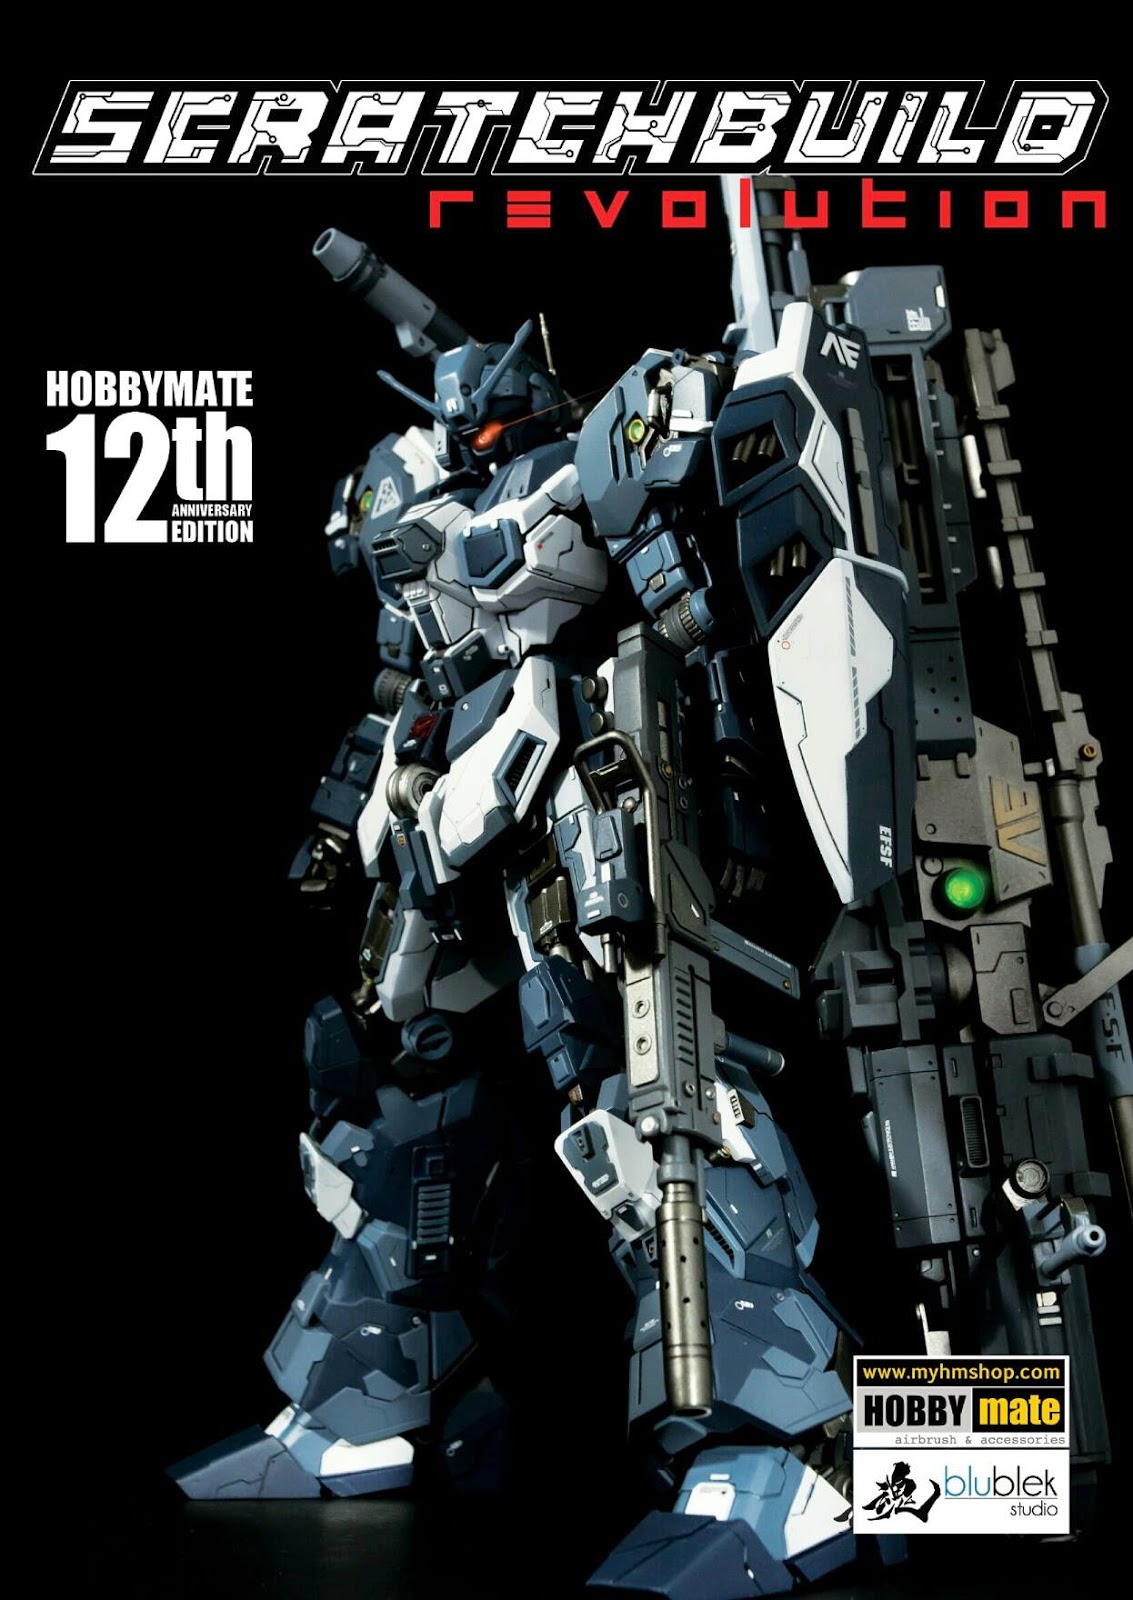
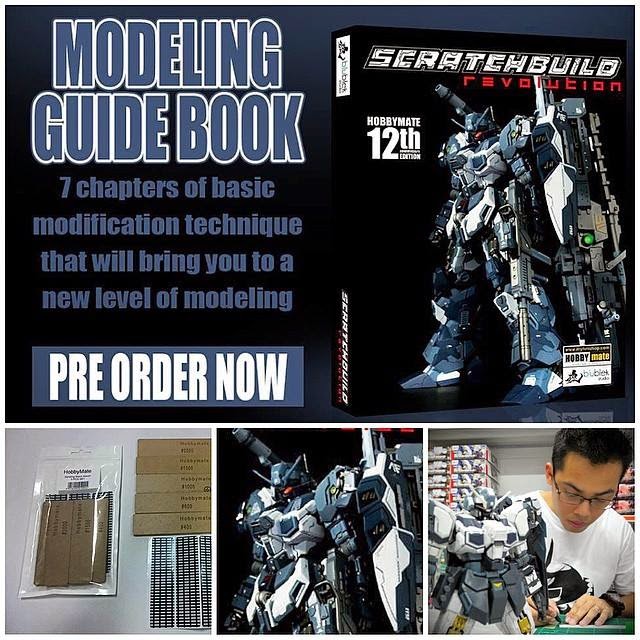
Scratchbuild Revolution Modeling Guide Book - Pre-Order Now


Scratchbuild Revolution Modeling Guide Bookphoto

Yours truly ( Don Suratos aka DC23 ) is taking up Pre-Orders for the Philippine market of this Scratch Built Revolution Modeling Guide Book produced by HobbyMate.

Pre-Order sale at 2,099 PHP until May 30, 2015. Email me at donc0023@yahoo.com or message me at Facebook for inquiries. I prefer payments thru my BDO bank account but I could also accept payments thru LBC, Palawan Express and other such methods of money transfer. Again, just message me at Facebook or email me for my bank account or other inquiries.

Modelers from other countries could purchase directly from the HobbyMate website as HobbyMate ships worlwide. You could pay thru paypal ( or bank transfers ).

This book will be shipping by June 2015 and the price will be 2,299 PHP after May 30. Buyers also get 5pcs of Sanding blocks from HobbyMate.

Thanks as always for dropping by! Until next post guys! Just enjoy the hobby! :)
Scratchbuild Revolution Modeling Guide Bookphoto

Scratchbuild Revolution Modeling Guide Bookphoto

Read more >>

Friday, June 27, 2014

1/144 Commissioned Diorama WIP part1


1/144 Commissioned Diorama verDC23 WIP 062614photo

Still a long way to go with this project, but I thought I'd archive my progress here in my blog already.

This is a 50cm x 50cm diorama commissioned work. I used 3mm pla plates, wooden frame and some styrofoam for the mountain side. The scale is 1/144, so obviously a ton of details to go before painting. I basically need to add some more windows and walls to the ruined buildings and bits and pieces to make it look more convincing.

I was looking for some references for some ruined buildings and concrete craters when I stumbled upon my best friend in the hobby's old work in progress posts at his blog. I must say his works are still the best in the world wide web. Below are some links to his awesome posts at his blog and these posts are my main references to further enhance this diorama project.


Now I need to review all the links above as they are awesome and made my progress look like an 8 year old school project! Dang Kriz! Awesome stuff!

1/144 Commissioned Diorama verDC23 WIP 062614photo

1/144 Commissioned Diorama verDC23 WIP 062614photo

1/144 Commissioned Diorama verDC23 WIP 062614photo

1/144 Commissioned Diorama verDC23 WIP 062614photo

1/144 Commissioned Diorama verDC23 WIP 062614photo

1/144 Commissioned Diorama verDC23 WIP 062614photo

1/144 Commissioned Diorama verDC23 WIP 062614photo

1/144 Commissioned Diorama verDC23 WIP 062614photo

1/144 Commissioned Diorama verDC23 WIP 062614photo

1/144 Commissioned Diorama verDC23 WIP 062614photo

1/144 Commissioned Diorama verDC23 WIP 062614photo

1/144 Commissioned Diorama verDC23 WIP 062614photo
Read more >>

Monday, July 23, 2012

Jaguar WIP by Aor_or_die


Jaguar WIP by Aor_or_die photo

I saw this scratch built monster in person, when good old friend OMAR aka Aor_or_die of Spain went here to the Philippines a while back. He showed us the unpainted casts of this monster of a build. Do check out the photos of this build when I saw it up close back then... LINK HERE.

This post is still the Work in Progress of this masterpiece. I am pretty sure we will still be awed once Omar reveals such a great inspiring work.

Jaguar WIP by Aor_or_die photo

Jaguar WIP by Aor_or_die photo
Read more >>

Sunday, October 16, 2011

MG The O II project - foot and zimmerit patterns!


MG The O II WIP photo

I made a few progress with my entry for our Toymaker versus DC23 face off yesterday and early today. The epoxy curing is slowing me down a bit though, but I am pretty happy with my progress as I can now see how my build will be turning out.

Once I have sanded the skirts to it's final shape, I will be detailing this huge build at last. I have started working on the foot parts and will be assembling them together tonight. The " zimmerit " texture or whatever it is called was done with epoxy as usual and I had a blast poking it the whole night.

I am almost seeing the final shape of the front skirts after tons of epoxy and sanding. I also almost finished up the huge shoulder armors that I gave some ridiculous cast iron texture using the same epoxy I used for the zimmerit patterns. This build is obviously master " Kobayashi " inspired and is shaping up the way I wanted it.

I have never inhaled this amount of plastic, epoxy and putty dust since I started this hobby back in 2008. The amount of putty and epoxy I have used so far for this build is totally insane and is getting really expensive really fast! Due to my very basic skill in scratch building, the amount of sanding to get the major parts ( specially the front skirt ) to it's final shape is also insane. But everything should end up more or less the way I wanted it ( hopefully ) at the end.

Anyways here are some photos of my Kobayashi inspired MG The O II build so far...


Thanks for dropping by! Til' next update guys! :)


Read more >>

Sunday, June 26, 2011

Toymaker vs DC23 WIP - big butt panel lines!


ToymakerVSDC23

It's been 2 months since I posted my last Gunpla update and its been so long since I worked on this The O II project. In fact my last O II update was way back March 6. So I am super excited to be back so to speak! As much as I need to and want to work with my MG Zeta commission works, I felt I needed to shake off the rust by working with my personal project first before resuming to the commissions. 

I used my T-Hobby chisels for the first time to do the panel lines of the O II butt. It came with 3 tips which are 1mm, .5mm and .2mm. I find the .2mm too thin for the design but it is perfect for other projects. The 1mm tip worked like a charm and the .5mm is just perfect for the normal panel lines.

I made a lot of booboos with the panel line and the panel line design is a bit rough and could be better. Well I was never a panel line guy anyways and It's really been a while since I worked with plastic. I needed to prime the butt to show you the panel lines better and I also needed to check for errors. A lot of errors to clean up but nothing a touch of putty could repair.

It took me the whole day yesterday to work on the panel lines of this butt and I must say that I have slowed down so much due to my 2 month Gunpla lay-off. I must and hopefully should pick up speed anytime soon as I need to finish a couple of Master Grade Zetas aside from this project.

Anyways, enuff excuses... I now present you the butt of my the O II project which is my entry for my FACE-OFF with the overly talented and skilled Kenny Lim aka Toymaker...

ToymakerVSDC23

ToymakerVSDC23

ToymakerVSDC23

ToymakerVSDC23

ToymakerVSDC23

ToymakerVSDC23

ToymakerVSDC23

Hoped you liked my update? Til' next post guys! :)

Read more >>

Wednesday, November 3, 2010

MG Sazabi WIP summary


 As Matt Mrozek told me at FichtenFoo forums, I kinda had an iffy start with this build. All I know is that I wanted this to be the fattest kit that I could make out of a MG Sazabi. I also have Z Luca's masterpiece as inspiration, thus I came up with the boob part, the huge crotch, huge rear skirts, huge front skirts and the Quebley shoulders.

Now let us see some really old photos of the early stages of this build... I constructed the boob part using the backpack of a 1/100 Gunner Zaku ( Gundam Seed ). I then scratch built a crotch and a huge plain front skirt using 2mm and 1mm pla plates...
Read more >>

Tuesday, November 2, 2010

The Sazabi backpack and diorama...


... and yet I still have updates... hihi... I just finished painting the base color of the backpack earlier today and I also finished painting 8 1/72 figures for the diorama. I have glued the figures permanently already and have also weathered the dio further.

The photo on top shows my vain attempt to follow Kriz / Rmahza's suggestions to put some oil spills and rust effects on the main hangar floor. The surrounding snow are also dirtied up as I think melted snow ( water ) around the edges of the piles of snow will mix with the rust and dirt of the floor. The hangar is still in gloss coat though, but I will be putting the final semi-gloss / semi- matte topcoat once the Sazabi is in place.
Read more >>

Featured Post

Vallejo Mecha Color EXPLAINED

As usual, pardon for the selfies as I desperately try to get comfortable in front of the camera, for my new YouTube channel .  Le...

TOP POSTS