Search This Blog

DC23 Clothing

DC23 Clothing
Find Us At Facebook
Showing posts with label 1/35 Tieren WIP. Show all posts

Sunday, January 30, 2011

Painting and Weathering Simplified


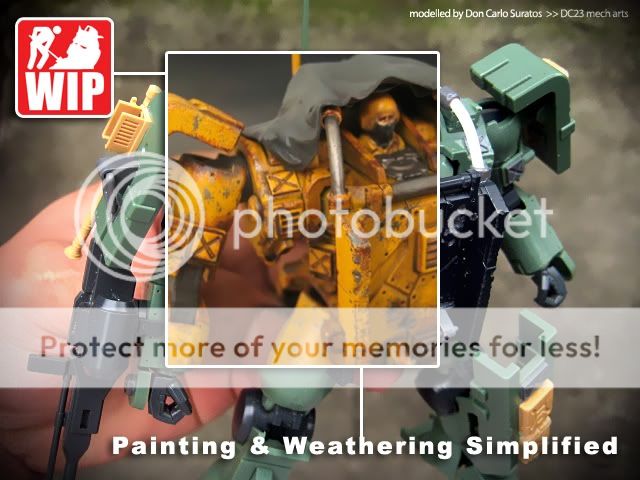
Not a perfect build for a tutorial but I learned and experienced a few techniques during this build, thus I thought it could be a nice guide for people who are just starting into modeling or Gundam plastic modeling. All of the techniques like the weld effects, enamel washes and damaging have their own tutorial posts in my TUTORIAL page already. But a new entry on painting and weathering as a tutorial would not hurt I guess.

This also serves as my usual WIP summary every time I finish a build and I have too much multiple work in progress posts on this very simple and quick build, reconstructing all those posts into one is a bit more practical for readers to access. Now lets go through the build with some selected photos and some short capsules...

1. Pre - painting >>>
Remove seam lines, sand of nub marks, modify the kit to your liking or concept , and add some battle damage effects if you like.
Read more >>

Saturday, January 29, 2011

1/35 Tieren Ground Type WIP - enamel washes


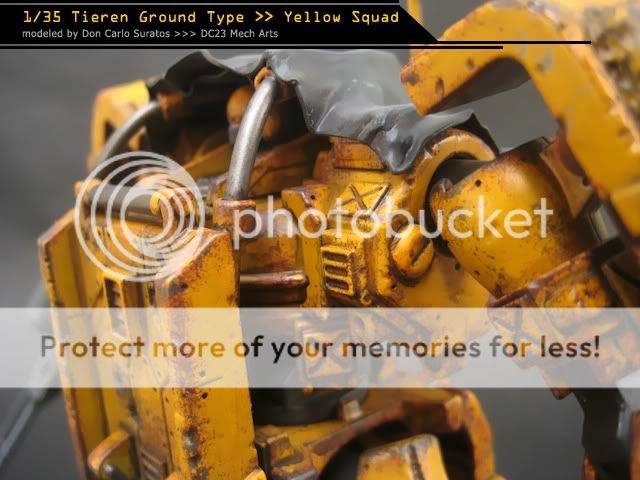
I just finished doing some enamel washes. As expected it looks a ton better than after the paint chipping effects, the enamel washes effortlessly brought out the crevices and details of the kit and it also brought to life the weld effects I added to a few parts of the kit.

Notice that the finishing is still in gloss which is perfect for the washes. Just make sure not to erase or remove too much of the washes to retain the weathered look. Too much enamel clean up will result to an undesired clean look. I now have to seal this with future and apply a darker color wash for the small damages. I might also add a few more paint chip effects on a few areas.
Read more >>

Thursday, January 27, 2011

1/35 Tieren Ground Type WIP - paint chipping with Citadel paints


Just a quick Gunpla fix before going to work today. I am pretty sure you guys know how this paint chipping works by now. My most basic rule of doing this technique is to use acrylic based paints ( I use Citadel ). Citadel paints are a bit on the pricey side, but I love my Citadels very much and they are also perfect for detail painting.

Using acrylics for paint chipping will allow super fast drying time, and most importantly you could apply the enamel or oil paint washes afterward. The acrylic based paints would never be harmed by the oil based enamel washes thus you do not need to seal the paint chipping paints with clear coats.

The technique is fairly simple, just dub the sponge to the acrylic paint and dub it to the edges or surface of the kit. Make sure you rub the sponge in a towel or cloth first ( much like dry brushing ) so that there is just enough paint on the sponge before application. This takes a bit of practice but is really easy  and fun once you get the hang of it.

Honestly I usually tend to lose my patience while doing this and I tend to overdo it a bit ( but I enjoy it a lot ). I like the results though as I hate subtleties. I usually only use silver for the paint chipping effects, but tried to do dual color paint chips this time. I applied a rust colored paint first then applied a secondary silver paint chipping on the areas I think that are more prone to scratches.

The silver paint chipping represents the fresh scratches and the rust colored chips are mostly on the not so easy to reach areas. Up next is the enamel washes and that technique will bring out the crevices and details further and will give the kit its almost final look. I sure will re-construct these WIP posts to come up with a weathering tutorial afterwards so stay tuned guys. :)

Now here are some photos of the progress so far...
Read more >>

Tuesday, January 25, 2011

1/35 Tieren Ground Type WIP - primed & painted


After almost one week of 16 hour work, I needed a quick Gunpla fix to relax. I worked with this kit since around 10 am today, added some rivet holes, weld effects and lots of damages on certain parts. I then sanded the parts with 600 grit and wet sanded it with 1,200 grit before priming.

After priming, I was really happy and relieved that all the seam lines were properly fixed! No need for putty or re-sanding thus I proceeded to painting the parts it's base coat. I was lazy to reassemble the parts after priming and might reassemble the whole thing after detail painting and weathering.

I primed the kit with my usual Bosny Grey primer, then I painted all the parts with my leftover Bosny paints. Steel Grey for the rifle, Lemon Yellow for the main parts and Dark Grey for the internals. Everything went well and I will post shade this with my airbrush soon. I will also need to detail paint a few parts and areas before weathering.

Again, this is my entry in the ZeroGunz Weathering versus Metallic GB, thus the weathering will be the major focus of this build. I will work on the detail painting a bit tonight and maybe work on it sparingly the whole week as I have to work with my MG Zeta commish during the coming weekend.

Now here are some photos of the progress so far...
Read more >>
Sunday, January 16, 2011

weld effects using Tamiya basic putty


This is my first time to do these weld effects on Gunpla as I think this does not work with 1/100 and 1/144 scaled kits. I kinda saw this from Julius Lim in one of his WIPs and figured to try it on my 1/35 Tieren build. It was tiring for the fingers but it was really fun specially the puttying part.

As much as I want to keep it as a trade secret or something ( joke )... I figured to share to you guys this fun weld effect as usual. Again, this is my first time do this so I do not not claim expertise but would just like to share it you as always. It is basically a 3 step process which s fairly easy and really fun to do...

Here are the steps...
Read more >>

1/35 Tieren Ground Type WIP part 2


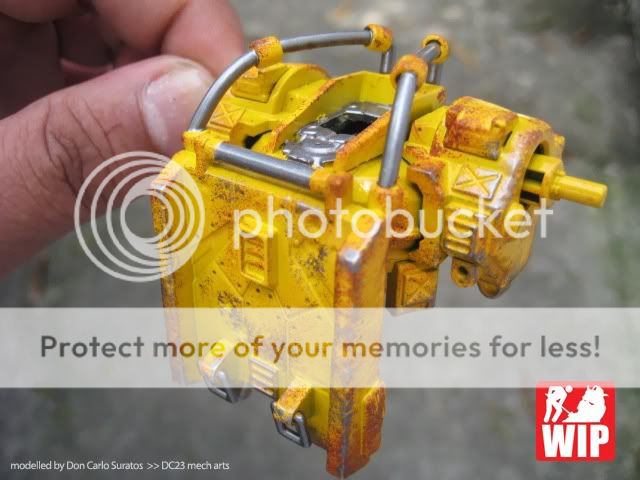
Here is an update of one of my ZeroGunz GB entry. Again, I converted a 1/144 Tieren kit into a 1/35 scale as a bigger scale would allow more weathering techniques than a 1/144 kit. I also plan to put some weld marks on some parts as I think weld mark effects can only be realistically applied to bigger scaled projects like this one.

The bent 2mm rod took half of my life, I heated it with a lighter but it kept breaking. Plus I cannot produce 2 peices with identical curves. I will have to put weld marks around the edges between the fat tube and the rod to hide those hideous gaps.
Read more >>

Tuesday, January 11, 2011

1/35 Tieren Ground Type WIP


I was thinking about my entry in the ZeroGunz Weathering versus Metallic GB and figured that using a kit in 1/144 scale is not so good for weathering techniques like paint chipping and such. I personally think that applying some washes and some dry brushing will already make a 1/144 kit look weathered. Kinda boring...

Even dry brushing if done too much will be too out of scale for a 1/144 scale, simply put I will be too limited, weathering wise if I stick to the 1/144 scale. So I thought of converting the 1/144 Tieren ground type into a 1/35 Tieren with an exposed 1/35 military figure as the head. The Tieren is now good for any type of weathering done with tanks and such. 

I glued on some 1/35 guns / rifles to give it a more 1/35 feel to it, will then slap some MSG koto parts for extra detailing and will add some battle damage effects all over. Will take better photos before and after priming. Now here are more photos of the 1/35 Tieren so far...
Read more >>

Thursday, August 12, 2010

Featured Post

Vallejo Mecha Color EXPLAINED

As usual, pardon for the selfies as I desperately try to get comfortable in front of the camera, for my new YouTube channel .  Le...

TOP POSTS