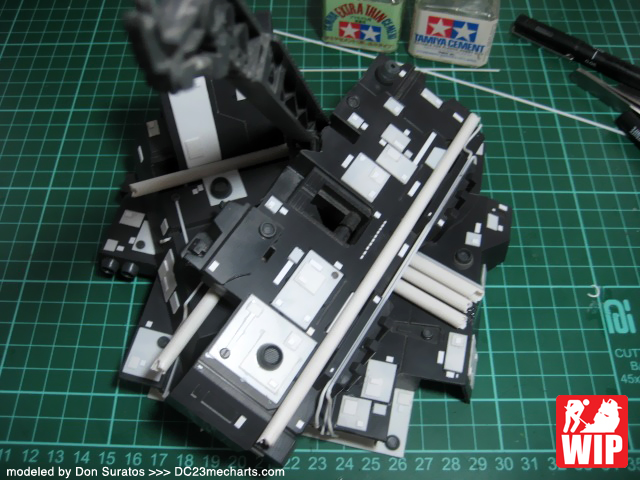
Weathered kits are just so nice to photograph! Pretty much the same concept why the Philippines in general is so great for photography. Our country is just so textured and weathered! lol
I have here another very simple tip / tutorial on how I add texture to my weathered model kits and dioramas these days. You could also use the glue + sand technique and the surface primer technique to produce similar results. But adding texture with a bottle of paint is just so much convenient than doing those other two methods.
disclaimer: Nothing fancy or original here and I do not claim expertise and discoverer of the technique. This has been done 15 years ago or even 15 centuries ago in modeling, just want to share how I do things in my own site. :)
I do not really recommend you use this technique to give your kits some cast iron effects as this is a bit inconsistent in comparison to using surface primer or thinned putty. However this is a faster more convenient and quick way of adding realistic rust looking texture to your dioramas or kits. Plus the inconsistency if applied in thin coats gives your rust texture it's much needed randomness.
After detailing my 1 hour custom base diorama with pla plates and some battle damages, I painted it with a really rusty and old industrial spray can. The paint from the old spray can came out rough, which is good as I like it a bit more rough as this is an abandoned rusty old hangar of some sort anyways.
After letting it dry for 30 minutes ( as I walk my Rottweiler ), I then painted the crevices with Vallejo Black Lava texture paint.
The Black Lava texture paint from vallejo is made of real small granules of stone and rocks, thus it hardens like rock, lol. You should apply it in thin layers and let dry for an 1 hour before applying a second coat. After around 2 to 3 layers you could achieve a texture similar to real asphalt roads.
I am not into making it look like an asphalt road, so I just applied a relatively medium thickness coat and will let it dry for 10 hours as I am off to my friggin' day job anyways.
Hope you find this simple tip useful. I will make sure to update this post to add a couple of photos of the end result after painting.
Thanks as always for dropping by! Til' next tutorial guys! :)


3 comments:
Very nice!... I love textured rust!=)
I know, and you are pretty good at it bro! :)
what camera and lense are you using, impressed with the detail it can capture?
Post a Comment