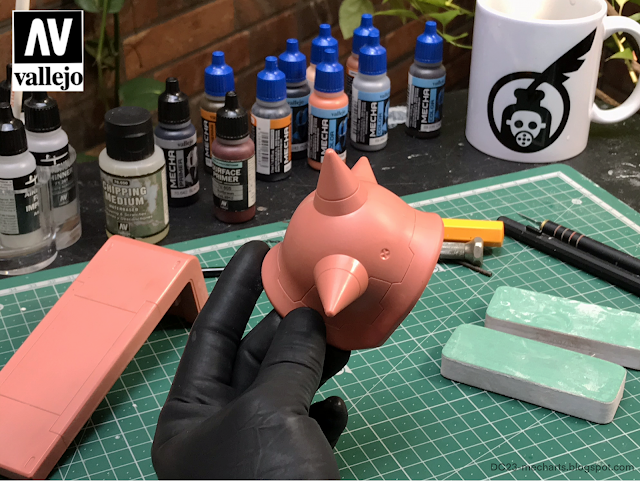
First off, my apologies as I cannot post detailed progress pics here at my blog, as my photos are reserved for something... hmmm... better.
Anyways, I am in the middle of working with my MG Gunner Zaku Warrior when I suddenly wanted to do some heavy weathering. I see a few well done over weathered builds at Facebook. I like them very much.
But photos might be intimidating for new modelers. So I felt I had to create a video to show that weathering is super easy ( and fun ).
I find heavy weathering, without physical damages to the kit a bit off tho. So I thought the first part of my video should teach people what to do in preparing kits for heavy weathering later.
Listed below are my STEPS seen videos at my new Youtube channel, which shows how I prepped the pieces before painting.
PAINT CHIPPING verDC23 PART 1
- STEP 1 - clean all the nub marks and seam lines. A nice well cleaned ( well done ) kit should look more Pro level work, even if you plan to over weather them.
- STEP 2 - Scribe the existing panel lines. I scribed with a .5 scriber as this is a Mega Scale and is a big kit.
- STEP 3 - I made the panel lines deeper with a needle point scriber. This should be great during the washes stage.
- STEP 4 - Bevel the panel lines with a V shape chisel. Bevels will always make detail look like they are part of the original design. Very sharp un-beveled panel lines and detail look like paper craft.
- STEP 5 - Melt the plastic with soldering iron. Be careful. Also be mindful of the direction and position of the damages.
- STEP 6 - Chip away small edges of the armor with an art knife. This will compliment the heavy weathering later.
- STEP 7 - Chip away small holes and damages with a V shape chisel.
- STEP 8 - Sand and clean up excess plastic and sharp edges ( edges of damaged parts ).
PAINT CHIPPING verDC23 PART 2
- Paint Vallejo Mecha Black Primer
- Paint with Vallejo Brown and Sand Primer ( mix ) for pre shading
- Splatter Panzer Color Light Rust
- Seal with Mecha Color Gloss Varnish
- Let cure overnight
That's it! I hope you still find this informative, even if I can't share detailed photos ( here ). Thanks as always for dropping by! Until next update guys!
Saludos!


2 comments:
Lovely blog you havve here
Digging into Paint Chipping verDC23 Prep & Undercoat has taken my model detailing to a whole new level—those weathered, realistic effects are a total game-changer! While stocking up on supplies, I found some rare modeling tools and paints at Meccha Japan, and using a Meccha Japan promo code made the haul even sweeter. Perfect prep, perfect price—now back to the bench!
Post a Comment