

I decided to create a Youtube video of this old Armor Trimming tutorial I did on a commissioned MG Zeta way back.
Now that I am focusing more on painting with Vallejo Mecha Colors, I will be doing only minor mods like armor trimming, scribing and holes. Not much pla plating in my future builds. I will still do simple vignettes, custom bases and dioramas tho.
The Armor Trimming technique I use is very simple. You just need a fresh new art knife to do the job. No fancy chisels whatsoever. With the proper technique of holding the art knife, and a simple process ( seen below ), anyone can spice up their kits with armor trimming.
Here is my Youtube video of this RG Sazabi Armor Trimming Part 1
I think the video will better show how this is done. Be very careful in handling the sharp art knife. The trick is to slice thin portions of the plastic, without forcing the art knife too much. Much like scribing, take your time ( sing a song ) and enjoy the process.
The armor trimming is perfect for any kit that has internals. RGs, MGs and PGs should look great with armor trimming. The simple mod will expose the highly detailed internals that are usually covered with armor.
This mod will also make you paint the internals nicely.
Armor trimming is easiest on white soft plastic. This is the reason I practiced on an old MG MK-ii, before working on the RG Sazabi. Colored plastic are a bit more brittle ( harder ) than white plastic. So be very careful specially when trimming colored Gunpla armor parts.


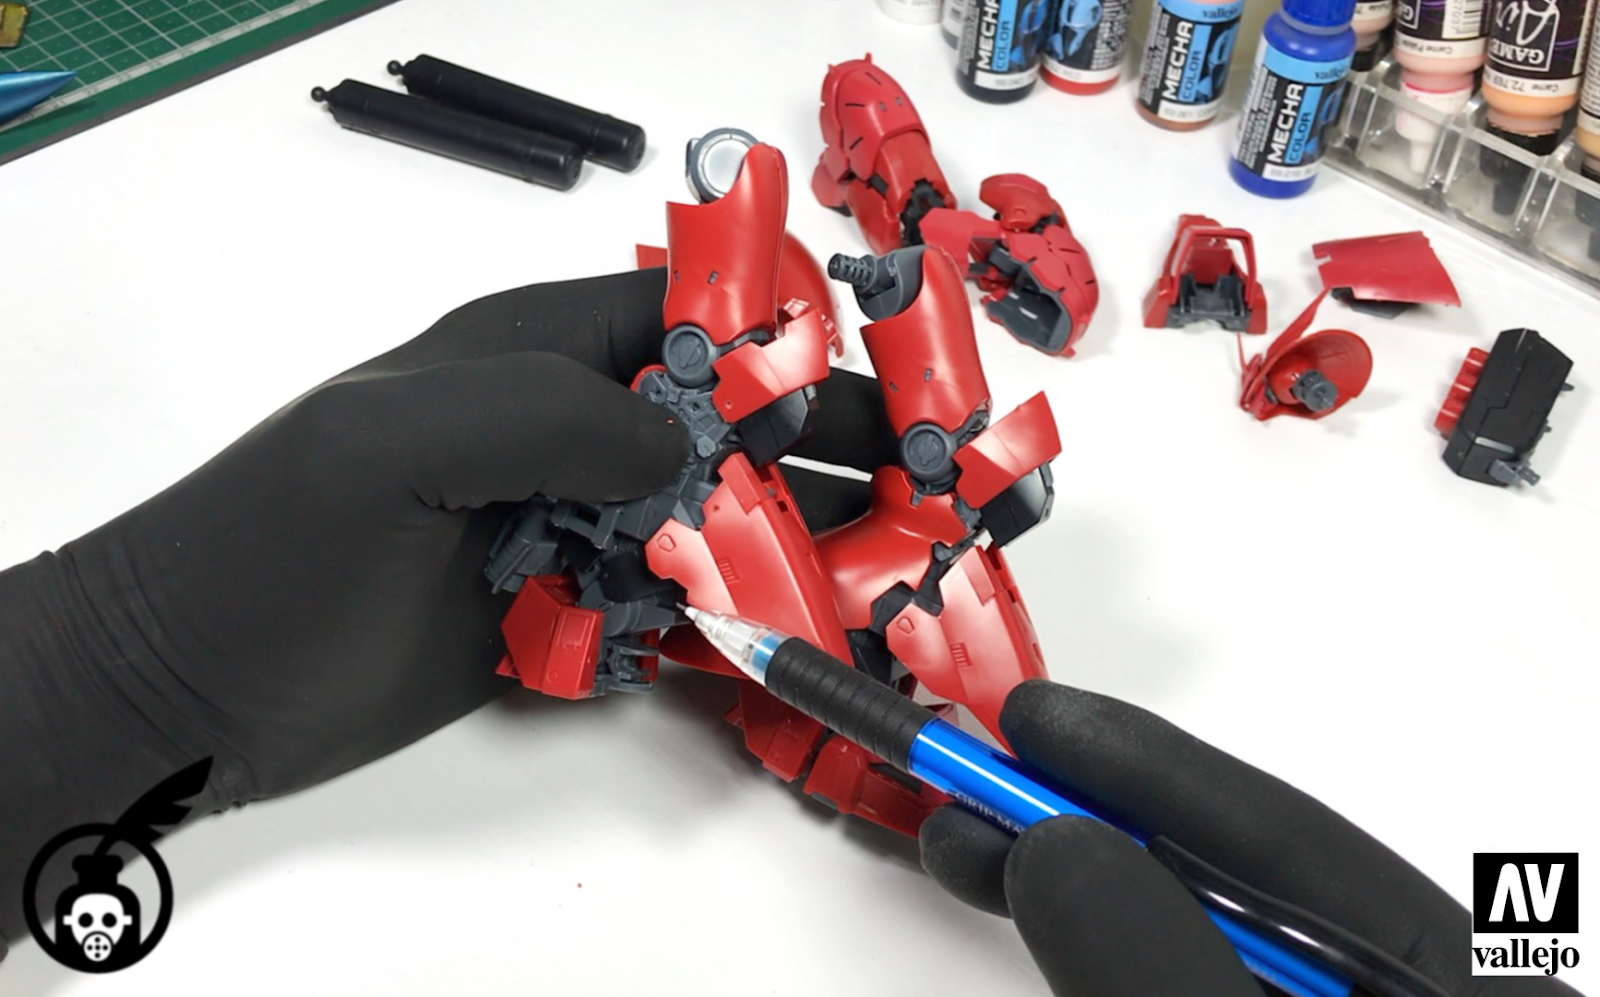

Just follow the "wedging" / trimming seen in the photo above. Wedge / trim per number and slowly cut / slice away the plastic in this process. Never force the art knife against the plastic. The art knife might slip. Number 1 or the first wedge is the most crucial. The succeeding numbers / cuts gets easier as you trim them.
Anyways, I hope the video demonstrates this modification technique better.
I hope you found this article and the video, helpful and informative.
Thanks as always for dropping by! Until next update guys!
Just enjoy the hobby! Cheers!
SHOUTOUT as usual!
I only use Vallejo Acrylic paints in all my builds - Acrylicos Vallejo
I get some of my tools from HOBBYMATE Singapore - HobbyMate at Facebook
And get my Vallejo paints from Neutral Grounds Philippines - Neutral Grounds Philippines
I only use Harder & Steenbeck for airbrushing - Harder & Steenbeck Airbrush


.JPG)


No comments:
Post a Comment